Apportunix Subscriptions
Info
Apportunix apps can be used for free, without a subscription,
- when used in a Sandbox environment, or
- when used in a Production environment that has the Dynamics 365 Business Central Premium Partner Sandbox license assigned to users. This is only applicable for Microsoft partners that would like to give demos using the partner's tenant.
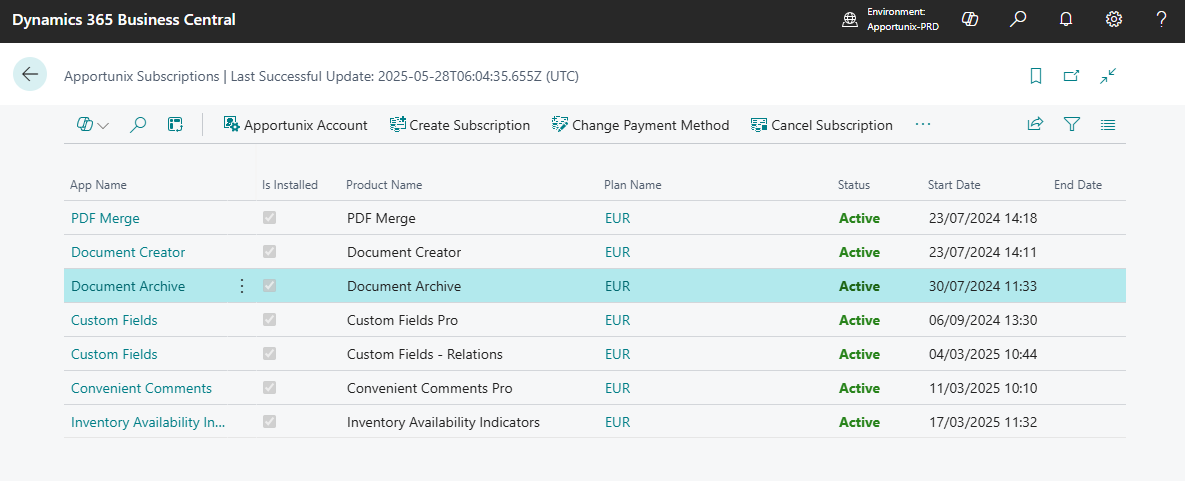
The Apportunix Subscriptions page provides an overview of all active and canceled subscriptions, and allows you to manage those or create new ones.
Tip
You can open the Apportunix Subscriptions page by using the Tell Me search feature
(Alt+Q, or click on the ‑icon in the top right corner).
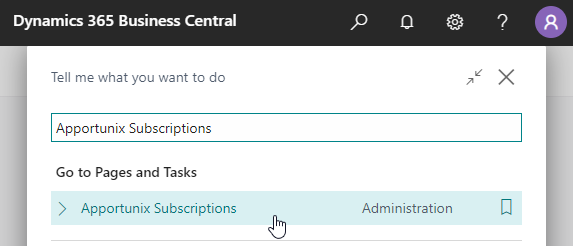
Or, use the following button to directly open the page in Business Central:
Important
When you open the Apportunix Subscriptions page in Business Central, then the state of your Apportunix subscriptions will immediately be refreshed upon opening this page.
Therefore this also means that if you had subscriptions with the status Past Due or Unpaid and you have just paid the invoices (e.g., by using the payment link in the invoice PDF), then you can open the Apportunix Subscriptions page to directly trigger the statuses of the subscriptions to be updated so that Business Central will pick up these changes directly.
Creating a Subscription and Starting Your Trial Period
A new (trial) subscription can be created using the Create Subscription action.
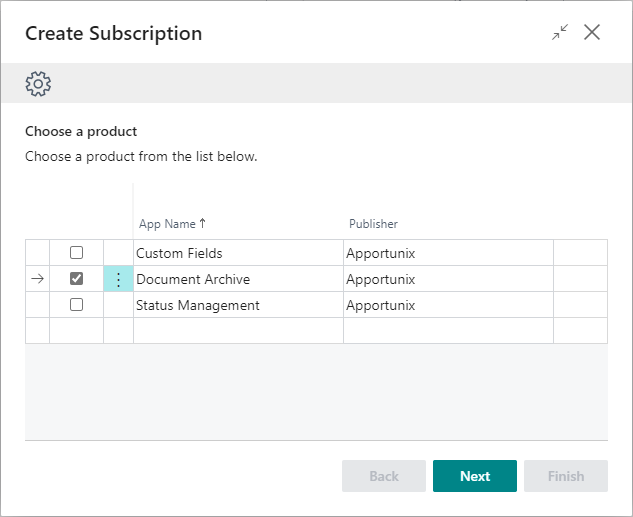
This action will open the subscription wizard.
Tip
A new subscription in a Production environment will start with a 14-day free trial period (unless otherwise stated).
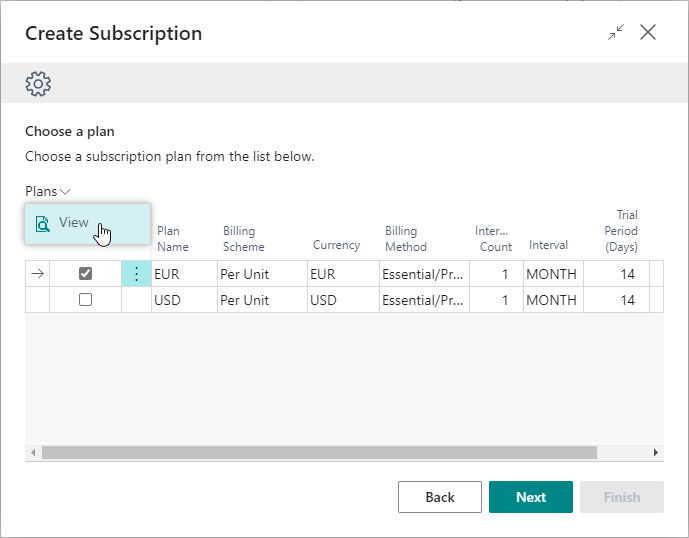
First, select the product for which you would like to start a subscription, and choose Next.
Then, select the plan that you need. Note that you can use the Plans | View action to view further details for the selected plan.
The Trial Period (Days) field informs you about the duration of the free trial period that starts when you create the subscription. In this trial period you will not be charged for using the product, and you can freely cancel your subscription during this period. If you continue using the product after the trial period ends and do not cancel your subscription, it will change from a trial into an active subscription and billing will start.
After selecting a plan, choose Next.
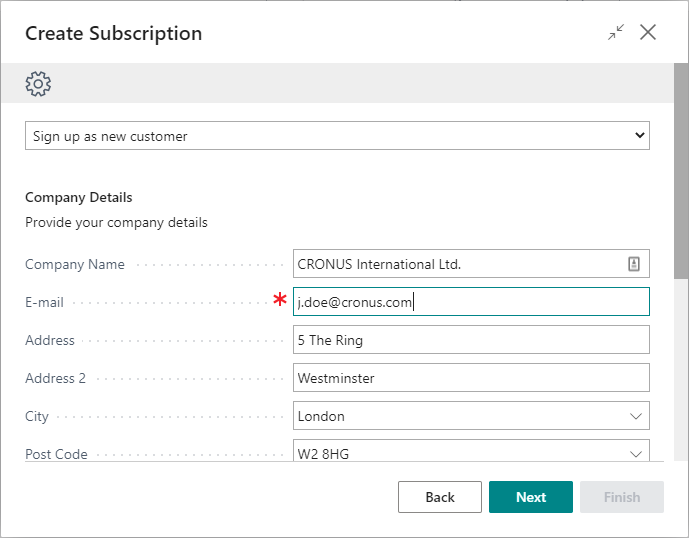
In the next step, set up your account by entering your company details.
Caution
Please fill in your actual legal company name.
Please carefully check that the Company Name you entered matches the legal company name of your Tax ID to prevent payment issues later on.
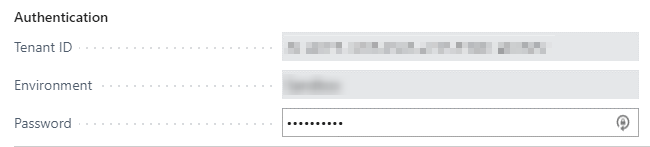
Your account will be linked to the Business Central environment in your Microsoft Entra tenant from which you create the subscription.
Caution
Please store the password you provided in a safe manner. If you lose it, you will not be able to manage your subscriptions on this environment, and must contact Support to reset it.
If multiple people need access to this password, consider storing it in a shared password vault to ensure only authorized personnel have access.
After entering your details, choose Next.
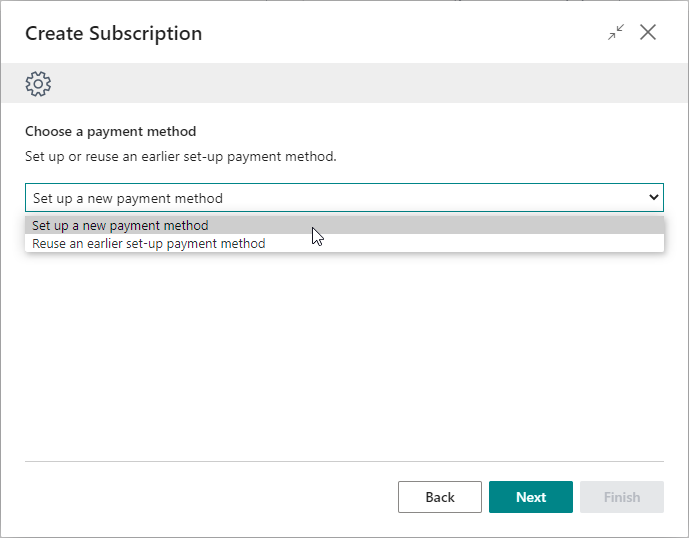
Specify if you want to reuse an payment method you set up earlier, or create a new one, and choose Next.
If you chose to set up a new payment method, you are now prompted to provide the relevant information. For setting up a credit card as payment method, enter your credit card details. Note that your payment information is processed and stored safely, in a PCI-compliant manner, by our payment provider Stripe, and Apportunix itself does not record or store any sensitive information about your payment method.
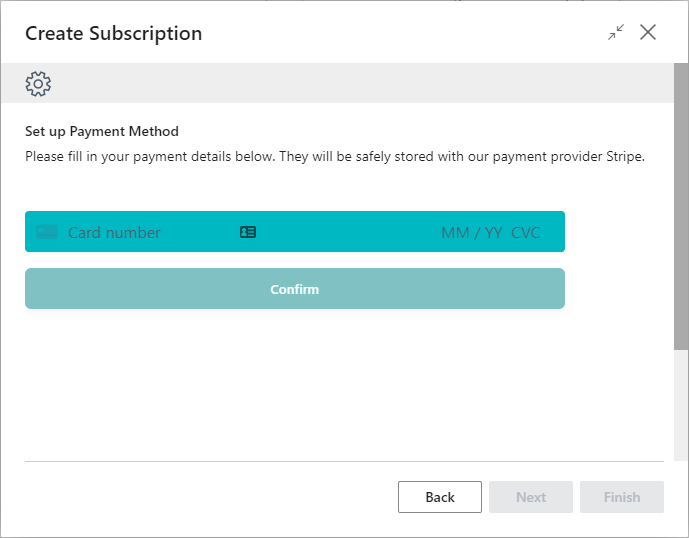
After setting up the payment method, choose Next.
In the next step you will get an overview of the information you provided. Please verify that the data is correct.
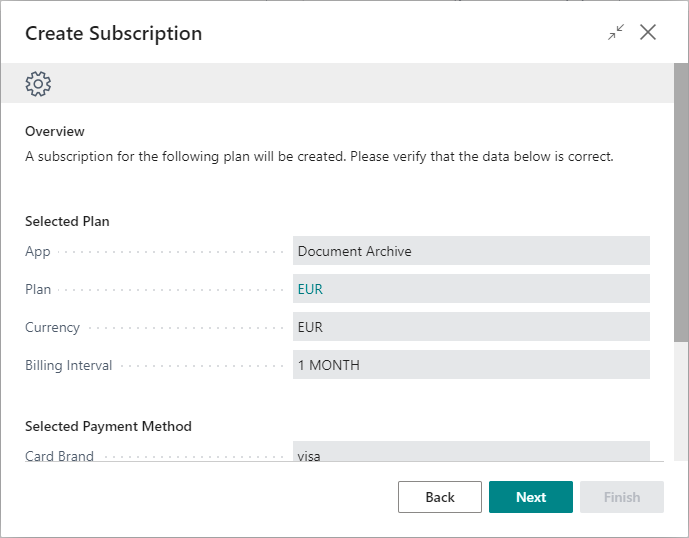
If the data is correct, choose Next, or choose Back to make corrections.
If required, you may need to provide additional confirmation to set up the payment method in the next step. Please do so to proceed.
The subscription is now created.
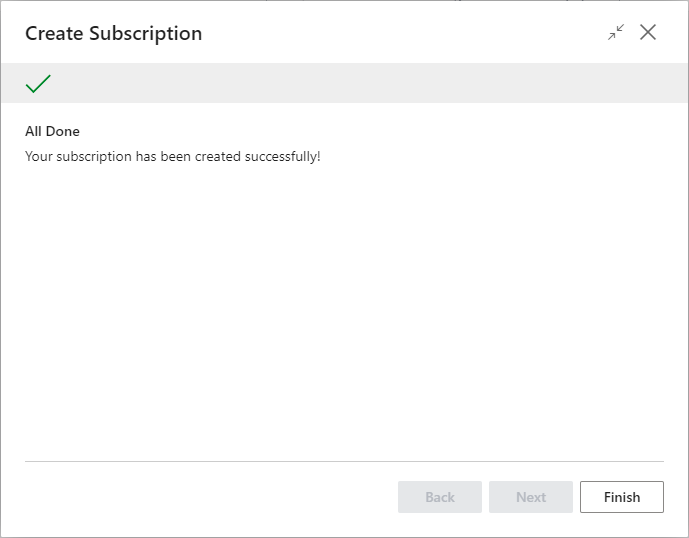
You can exit the wizard by choosing Finish.
The subscription you created will show up in the Apportunix Subscriptions page.
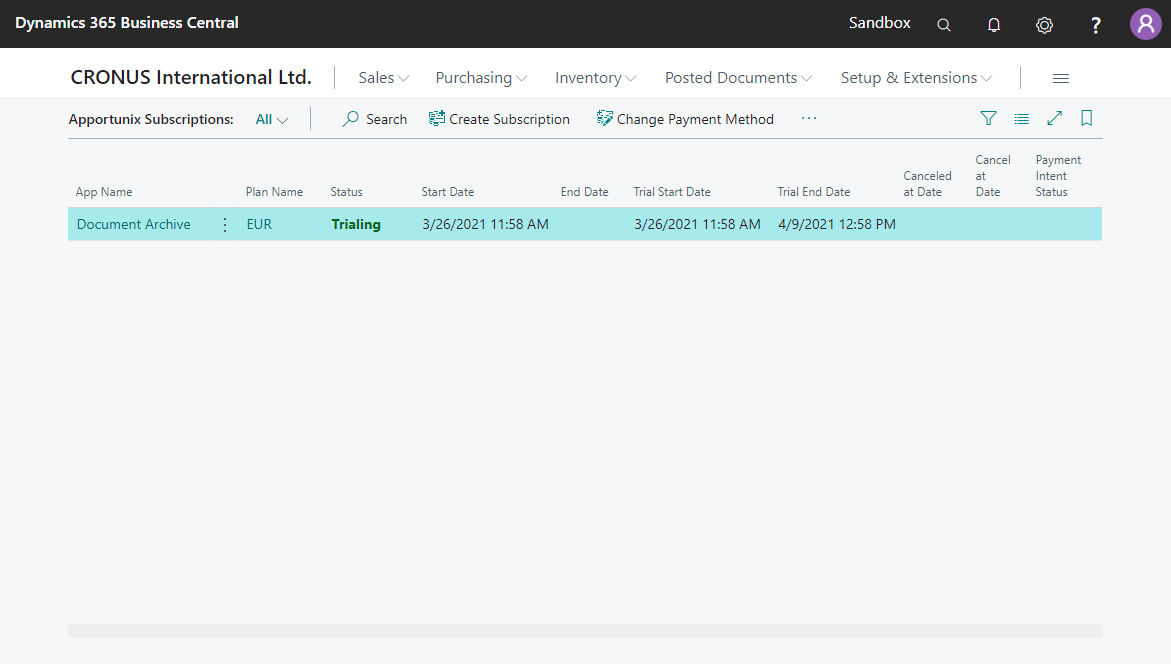
You will see that the initial status of the subscription is Trialing, and you can see when the trial period started and when it will end in the Trial Start Date and Trial End Date fields respectively.
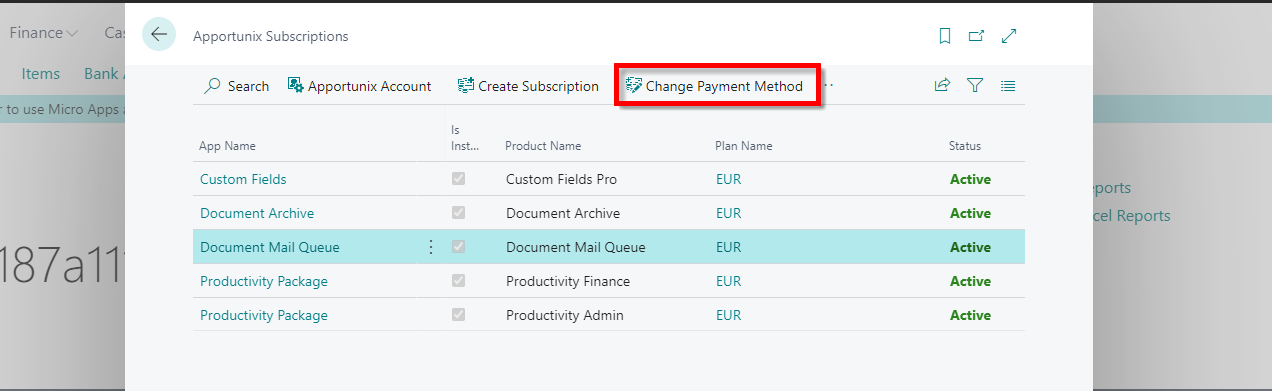
Change Payment Method
The Change Payment Method action allows you to change the payment method for the selected subscription.
You might need to do this if you have to set up a new credit card, for instance because the previous one is about to expire.
Resolving Due Payments
If you have an active subscription with outstanding invoices that are not successfully paid before the due date, then the status of the subscription will change to Past Due.
When the subscription has Status = Past Due you will still be able to use the subscription's product features. However, please make sure to resolve the due payments as soon as possible before the status of the subscription changes from Past Due to Unpaid.
To resolve the due payments, please follow these steps:
-
You will get a notification that informs you that you have a subscription that has the status Past Due. This means that there has not been a successful payment for one of the invoices of the subscription before the due date.

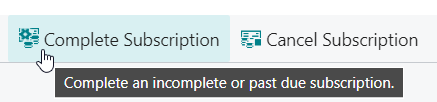
To resolve this, please invoke the Complete Subscription action from the notification, or invoke the Complete Subscription action on the Apportunix Subscriptions page.
-
Invoking the Complete Subscription action from the notification or from the Apportunix Subscriptions page will open a dialog that informs you that you are about to complete/fix the set up of the subscription.
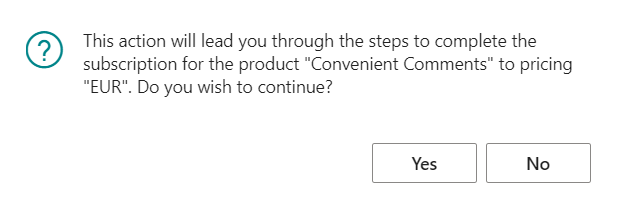
Choose Yes to continue.
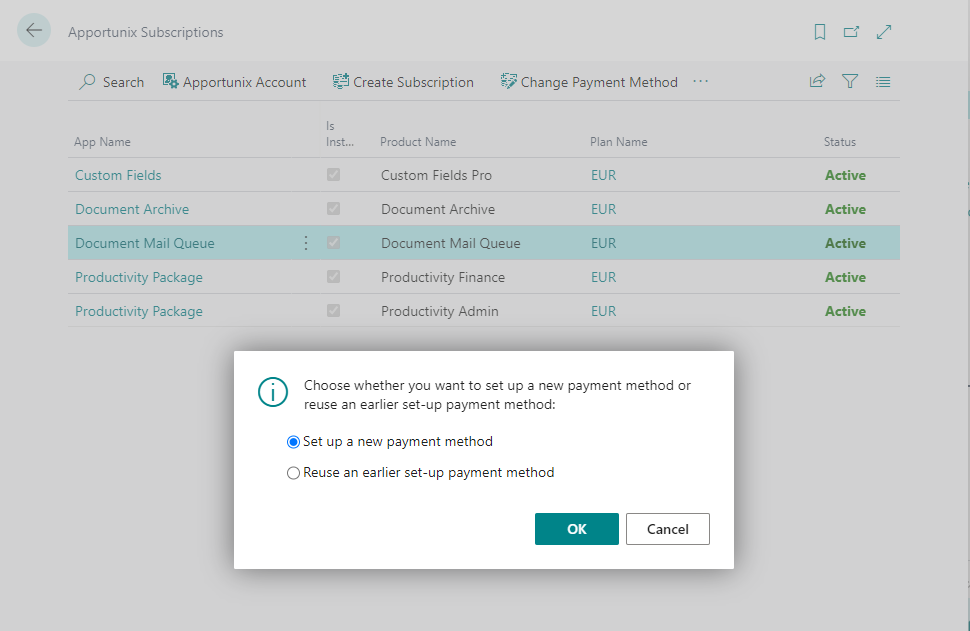
-
A dialog will open that let's you choose whether you would like to use a new payment method (card), or reuse an existing payment method that you have set up earlier.
Choose one of the two options and click on OK.
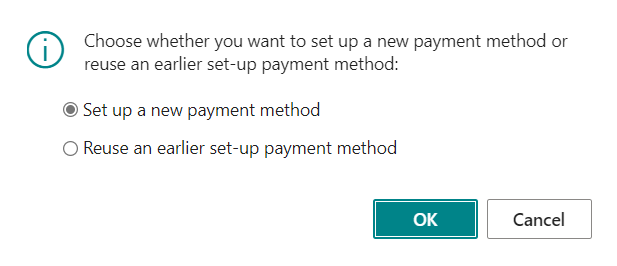
If you chose Set up a new payment method, continue to 4.a. If you chose Reuse an earlier set-up payment method, continue to 4.b.
-
Depending on your choice in the previous steps, please follow the corresponding steps:
-
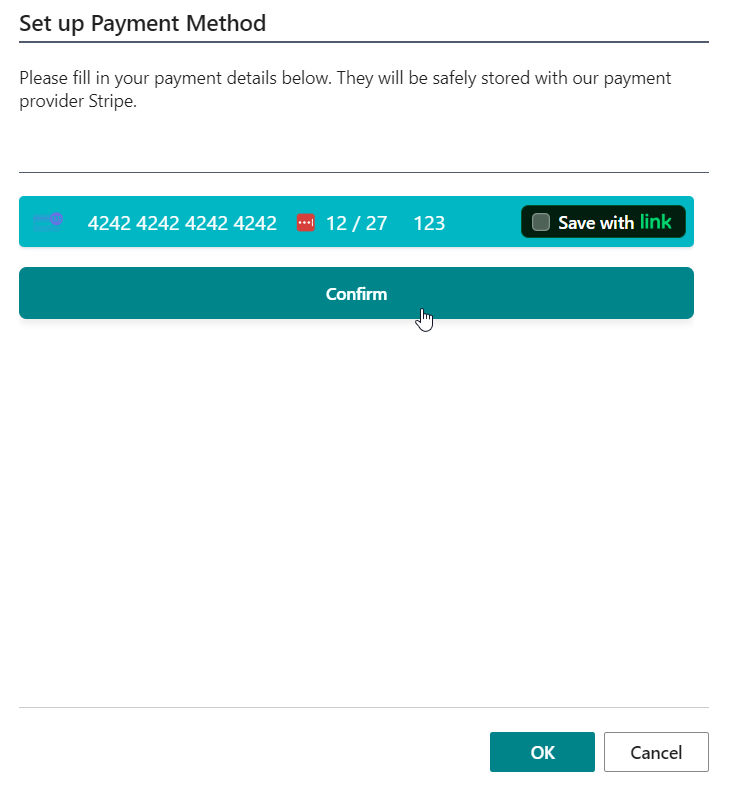
If you chose to set up a new payment method (card), then please enter the details in the Stripe control add-in that is shown and choose Confirm
-
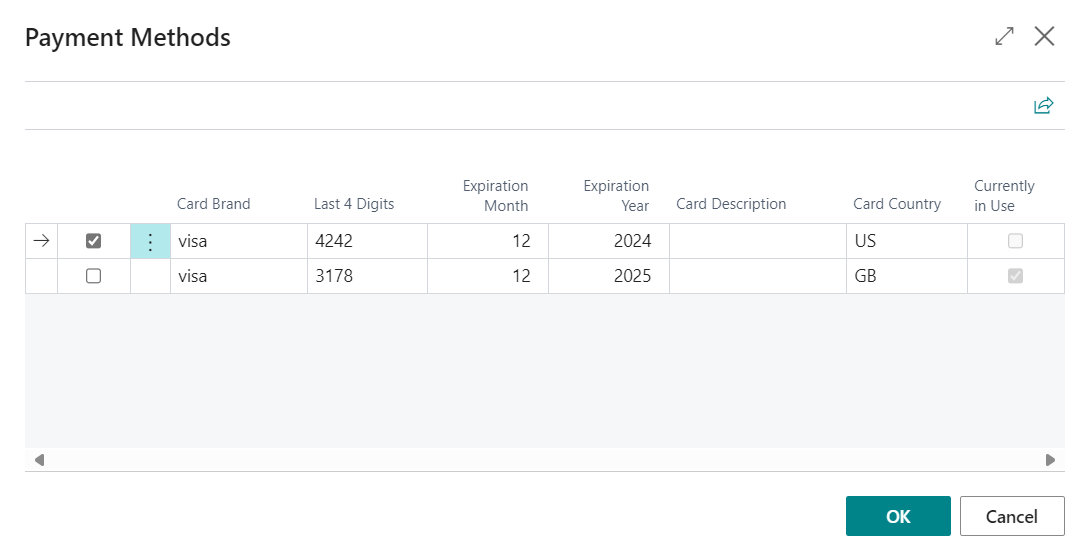
If you chose to reuse an earlier set-up payment method, then select a payment method and choose OK.
-
-
It could be that you are asked to do an additional 3DS confirmation (e.g., with your bank's mobile app). If this is the case, then follow the instructions provided by your bank to confirm the payment (with your bank's mobile app).
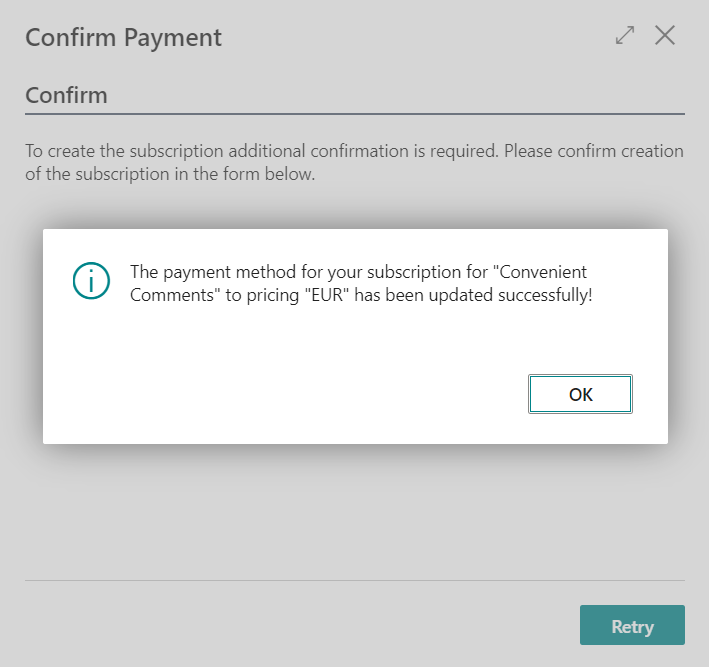
Finally, you will be asked to confirm the change of the payment method for your subscription:
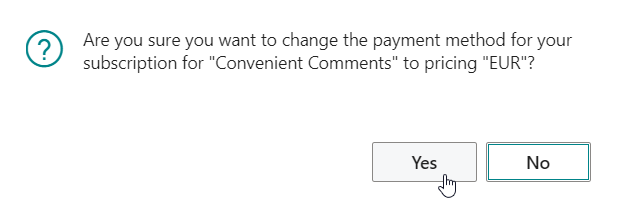
Choose Yes to finish.
-
You will get final confirmation that the payment method has been updated accordingly.
-
After the change of the payment method, another payment collection attempt will be performed within a few minutes.
If this new attempt is successful, the Status of the subscription will change from Past Due/Incomplete to Active.
Canceling a Subscription
A subscription can be canceled at any time using the Cancel Subscription action.
This action will cancel the selected subscription.
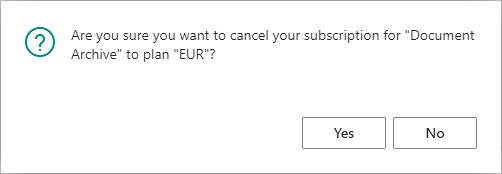
A message will be shown to ask you for confirmation to cancel the subscription:
After you confirm, you will receive the following message:
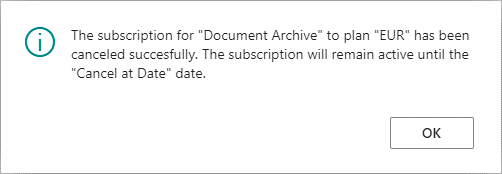
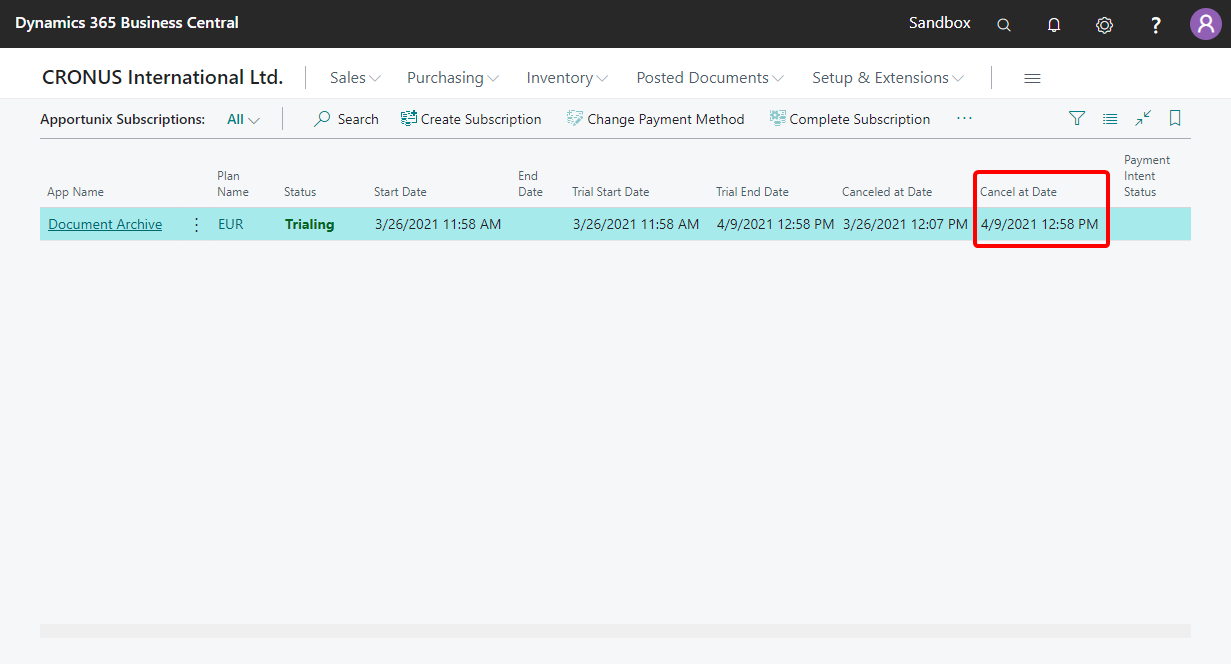
After canceling the subscription you can keep using the subscription until the current invoicing period or trial period ends, indicated by the Cancel at Date field. The status of the subscription will remain unchanged until this date.
In the example below the subscription will end at the same date that the trial period ends.
Please remember to cancel your subscription(s) before you uninstall the extension(s). If you do not, your subscription will remain active and you may receive future invoices for your active subscription(s).
Please be aware
- Uninstalling (an) Apportunix extension(s) from your environment will NOT cancel your active subscription(s). You will need to cancel your subscription(s) via the Apportunix Subscriptions page in the relevant Business Central Production environment.
-
After you've canceled a subscription, you can keep using the subscription until the end of the current invoicing or trial period, indicated by the Cancel at Date field value.
-
If you have canceled your subscription, and have payments that are unpaid/past due, you will NOT be able to start a new subscription until these payments are settled.
- If you already had a trial period for a product, you will NOT be able to start a new trial period for the same product. You can start a new trial period for other Apportunix products you have not trialed before.
- Please contact us using the Contact page on our website if you have any questions or need assistance.